Add Receipt- From a Case
Summary
This option allows you to enter a new receipt into the TnCIS System. The example used is a civil case.
Civil
Civil Cases
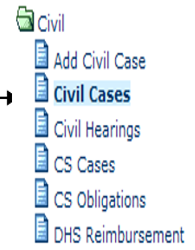
Step 1: Select process
After opening the Civil folder, select Civil Cases.
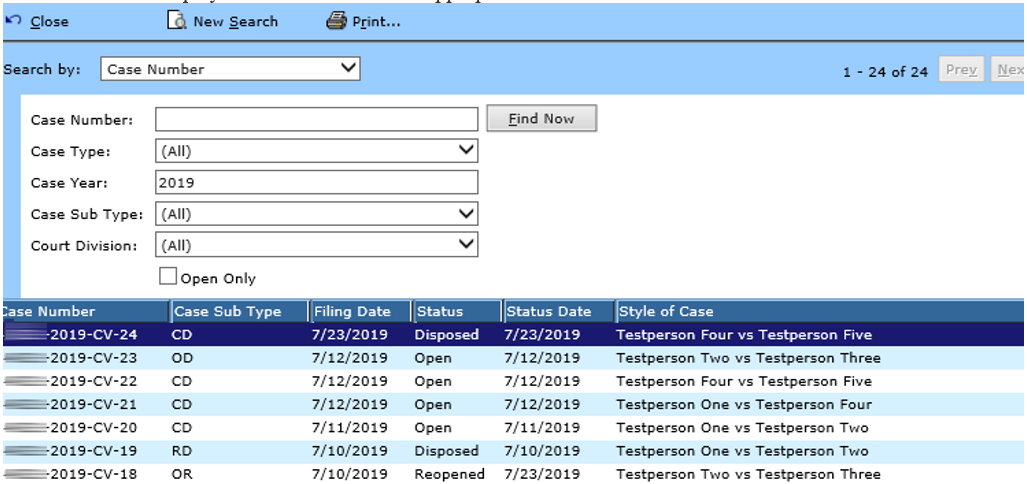
Step 2: Select case
Using the drop down menu from the Search by field, you can select to search by Case Number (this is the default), Party, Attorney, Judge, Status, Filing Date, Reference Number, Book Entry or Last Name. You can also select the cases that are Open Only. Based on how you will search, you will enter the appropriate search criteria. Make the appropriate entries/selections. When the criteria have been selected, click the Find Now button. The cases will be displayed. Double click on the appropriate case to select.
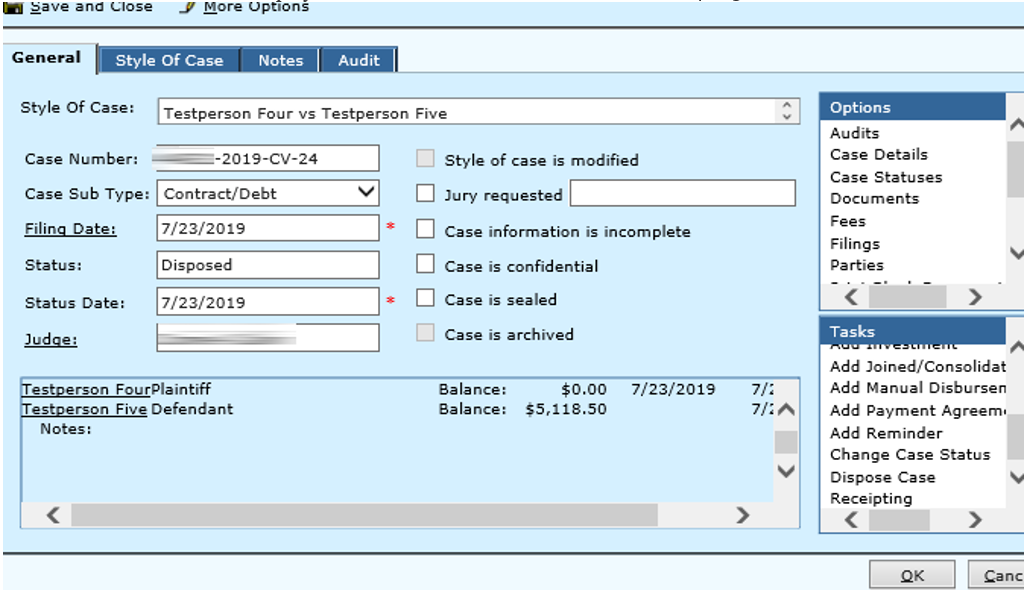
Step 3: Select to add a receipt
The case information will be displayed. From the side Tasks menu, select Receipting.
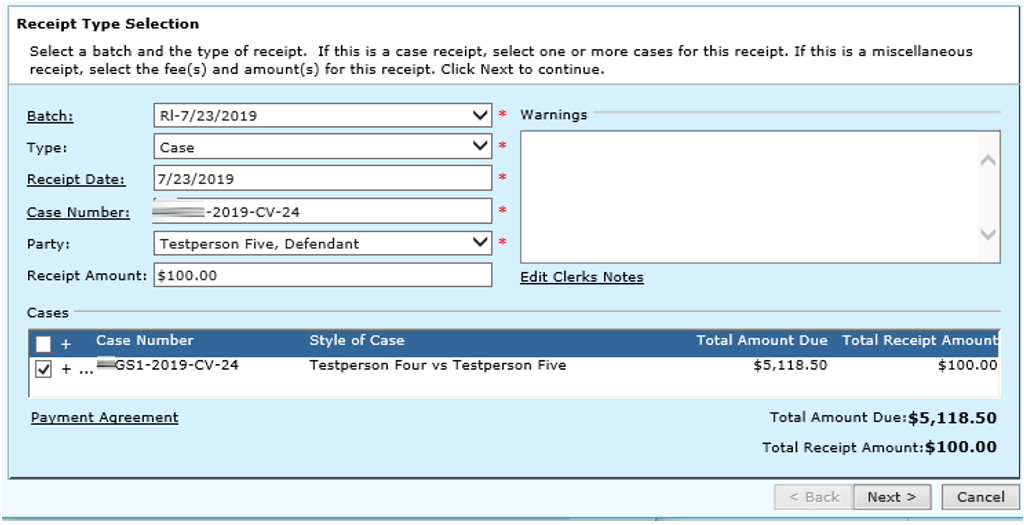
Step 4: Receipt Type Selection
Enter/select the general information about the receipt. Some of the information is defaulted but can be changed if necessary. After recording all the information click the Next > button to proceed to the next step. Click the Cancel button to return to the main menu.
Receipt Type: Case
Field Descriptions:
Batch ID |
Required |
Use the drop down menu to select the batch in which the receipt information will appear. You can use the Batch ID hyperlink to select from batches on file. |
Type |
Required |
Use the drop down menu to select the type of receipt. The default will be case but it can be changed to bad check, misc., out of court, state/county cost bill or wage garnishment. |
Receipt Data |
Required |
Enter the date for the receipt. You can use the Receipt Date hyperlink to select a date from the calendar. |
Case Number |
Required |
Enter the case number associated with this receipt. You can use the Case Number hyperlink to select an existing case. If party is entered, the case # is not required. |
Party |
Required |
Use the drop down menu to select the party for the receipt. If a case number is entered, then the party field is optional. |
Receipt Amount |
Required |
Enter the amount being receipted. If the amount is not put here, you will have to enter each amount individually in the fields below. |
Warnings |
Optional |
This shows any outstanding warrants on the party. |
Edit Clerk's Notes |
Optional |
Click the Edit Clerk's Notes hyperlink to view/edit any notes that were made by the recording clerk. |
Cases |
Optional |
This section contains the information about the amount due on the cases and the amount being receipted. The info displayed depends on selections made in the case/party selections. |
Payment Agreement |
Optional |
Click the Payment Agreement hyperlink to enter/access the payment agreement information about the receipt. See below. |
Step 5: Enter Receipt Information
Enter/select the specific information about the receipt. Some of the information is defaulted but can be changed if necessary. After recording all of the information, click the Next > button to proceed to the next step. If changes need to be made on previous information, click the <Back button. Cancel will delete the information entered and return you to the main menu.
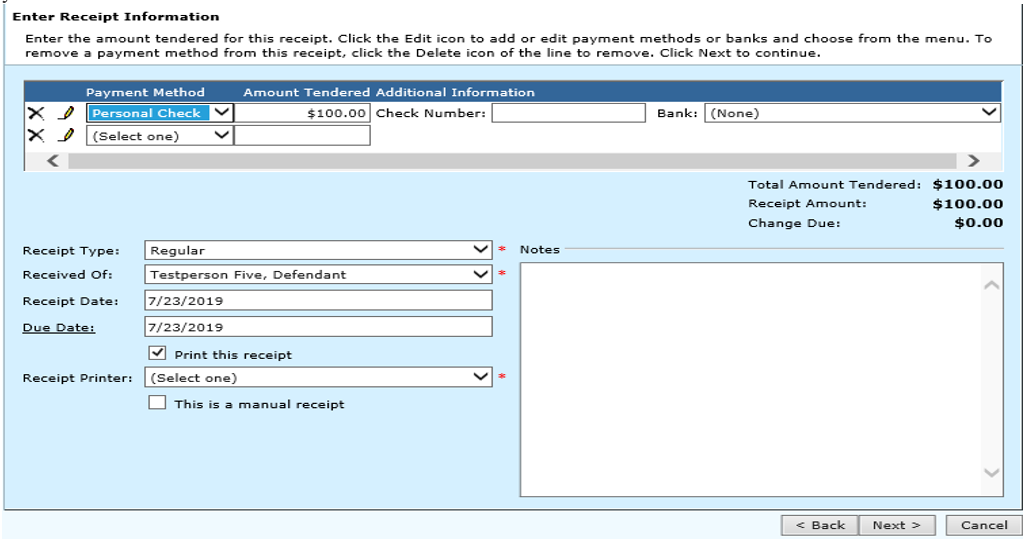
Field Descriptions:
Payment Method |
Required |
Use the drop down menu to select the payment method for the amount tendered. More than one payment method and amount tendered can be recorded. For example, money can be received from a check, and also cash. |
Amount Tendered |
Required |
Enter the amount tendered for the selected payment method. These amounts will be totaled and shown as the Total Amount Tendered. |
Check Number |
Optional |
This is an optional field that appears if a check is selected as the payment type. Enter the check number that the party is paying with in this field. |
Bank |
Optional |
Select the name of the bank on the check from the drop down. |
Issue Check for Change |
Optional |
If an overpayment is made; check this box and a check will be generated for the change due to the party. |
Receipt Type |
Required |
Use the drop down menu to select the receipt type. |
Received Of |
Required |
Use the drop down menu to select who is paying the amount tendered. Note: There is an “other” option available in the drop down if the party paying is not listed. This will trigger an additional field- “other received of”. Enter the party paying in this field. |
Other Received Of |
Required |
This field is required if the “other” option is selected from the received of drop down. Enter the name of the individual/business paying. A search will appear for the party. Add new if your party does not appear in the search. |
Receipt Date |
Required |
This information defaults from the first receipting screen. |
Due Date |
Required |
This date either defaults from the receipt date or it defaults from the “days to hold check” field set up under administration (if paid by check). |
Print this receipt |
Optional |
Check this box if you want the receipt to be printed. |
Receipt Printer |
Required |
If the Print this receipt box is checked, you will use the drop down menu to select the printer that will print the receipt. |
This is a manual receipt |
Optional |
Check this box if a manual receipt was issued for the payment. |
Notes |
Optional |
Enter any additional notes or comments about the receipt. |
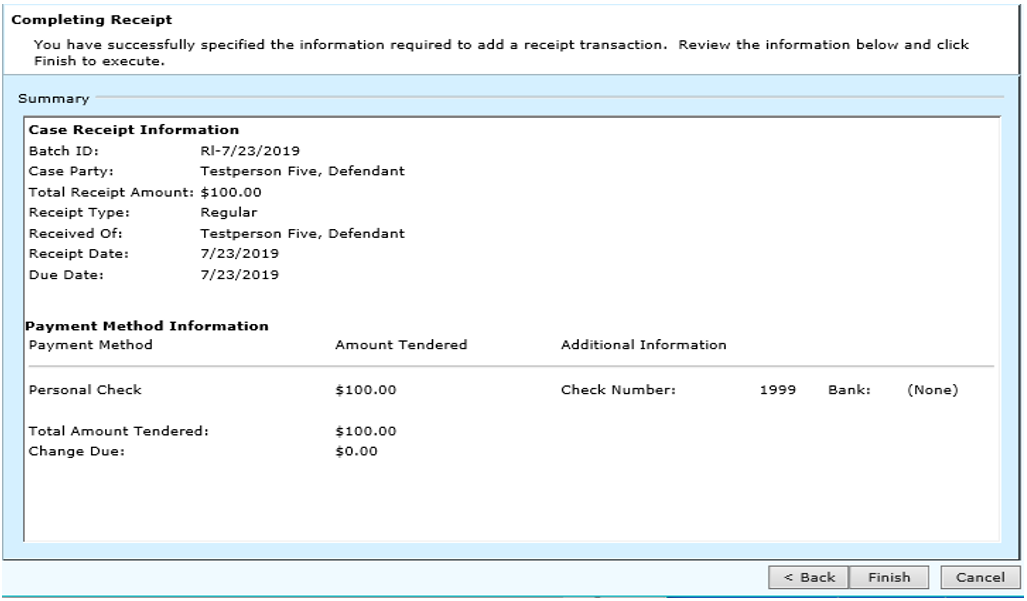
Step 6: Completing Receipt
This screen will be displayed, and you will have a chance to view the receipt information to be sure everything is correct. If changes need to be done, click the <Back button. If everything is correct, click the Finish button to proceed to the next step. Cancel will delete the information entered and return you to the main menu.
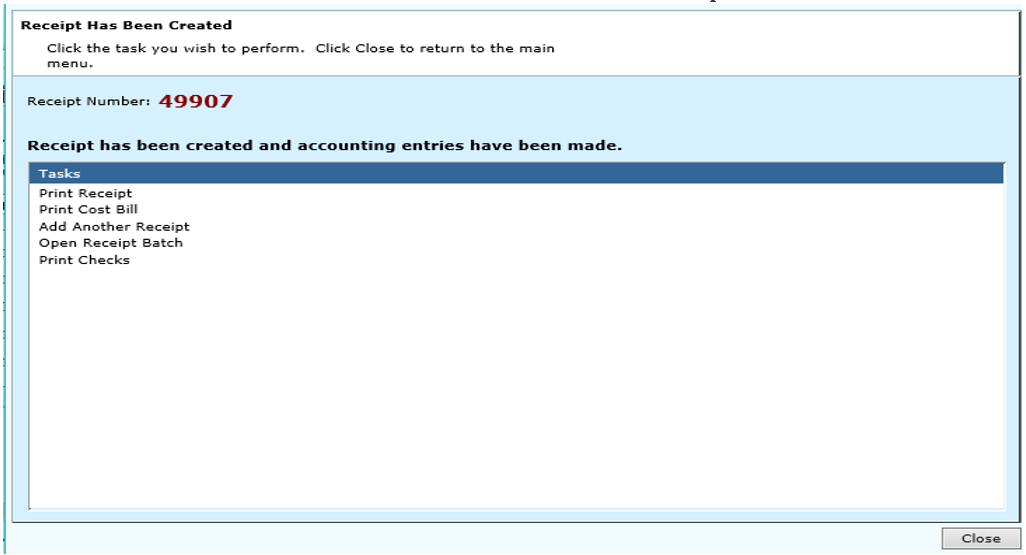
Step 7: Receipt Has Been Created
After confirming that the receipt is correct, the file will be updated. This screen will allow you to perform additional tasks. Select one of the tasks or click the Close button to return to Step 2.
Rev. 03/24/2021