File Transfer
Summary
This option allows users to copy files to and from the TnCIS server to their client machine.
Utilities
File Transfer
Step 1: Select process
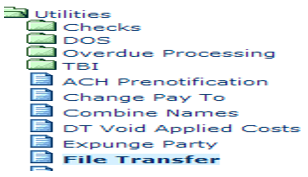
After opening the Utilities folder, select File Transfer.

Step 2: Select Transfer Type
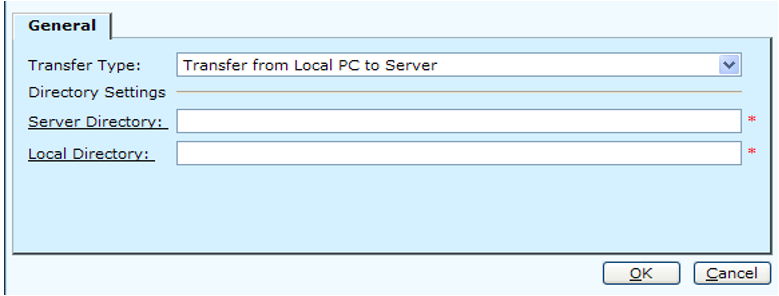
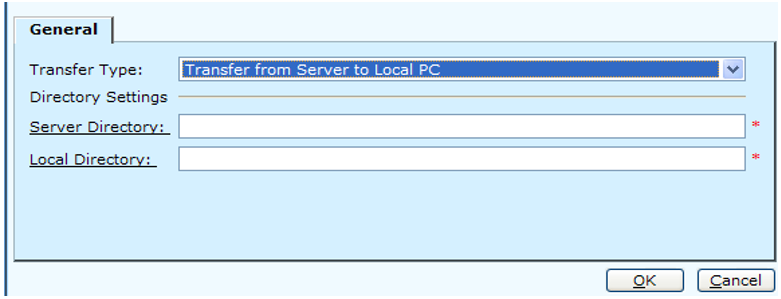
Select the Transfer Type from the drop down. Two Options will be available: Transfer from Local PC to Server and Transfer from Server to Local PC.

Click on the Server Directory Hyperlink. The hyperlink will take you to your Server Directory to select which file you wish to transfer. Double click on the folder/file you select to transfer.
Click on the Local Directory Hyperlink. The hyperlink will take you to you r local client machine to select which file you wish to transfer. Double Click on the folder/file that you selected to transfer.

Step 3: Complete the File Transfer.
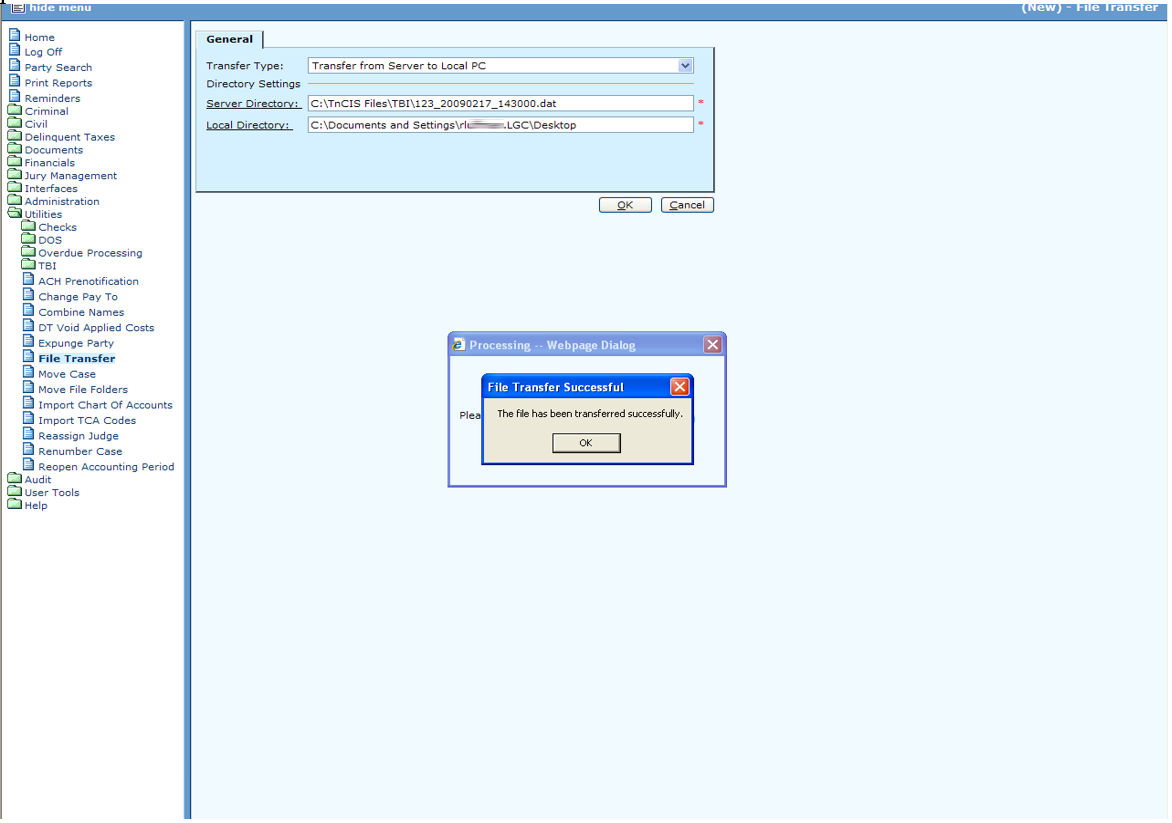
After the information has been entered, click the OK button to proceed. Click the Cancel button to cancel the process and return to the main menu.
Message will appear that “The File has been transferred successfully”. On this particular example, a TnCIS file was transferred from the server and applied to the local client machine desktop. This process is designed to accommodate the types of files that are normally used by the users for importing and exporting. ( Ex. DT Import /Export files etc.) Users will no longer have to go the server to place files to be imported or to retrieve the files that have been exported.

Field Descriptions:
| Transfer Type | Required | Use the drop down menu to select the Transfer type to be recorded. |
| Server Directory | Required | This is your TnCIS server that will allow you to copy files to and from the server to their machine. |
| Local Directory | Required | This is your local PC that will allow you to copy files to and from your machine to their server. |
Rev. 04/05/2021