Reprint Checks
Summary
This option allows you to reprint checks by selecting disbursements, printing the checks and related reports, and posting the transactions to the general ledger.
Financials
Checks
Reprint Checks
Step 1: Select process
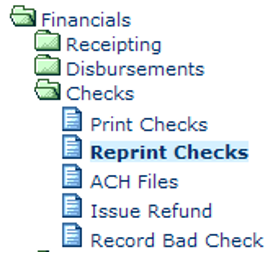
After opening the Financials folder, select Checks and then Reprint Checks to reprint checks.
Step 2: Select process
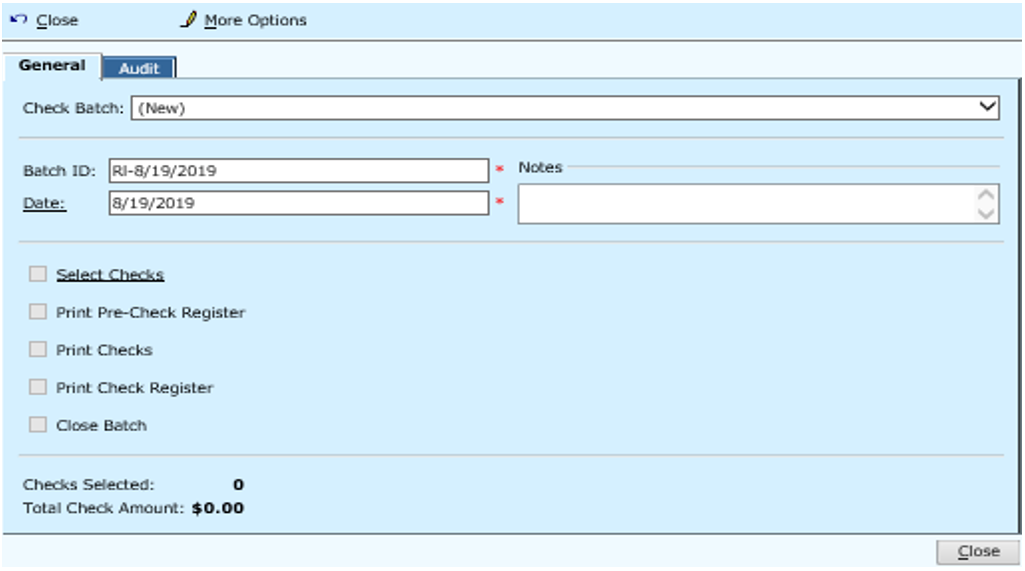
Several processes are included in the Reprint Checks option. If necessary, make any changes/entries to the batch selection, date, and notes. Then, select the processes in the order listed. As each step completes, a check will be shown beside the process. When all the processes are complete, click the Close button.
Step 3: Select Checks
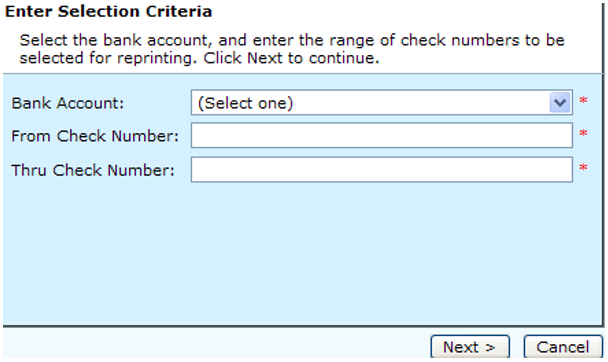
Use the drop down menu to select the bank account to access. Then, enter the beginning and ending range of checks to be reprinted. When the information is complete, click the Next > button. To cancel the process and return to the main menu, click the Cancel button.
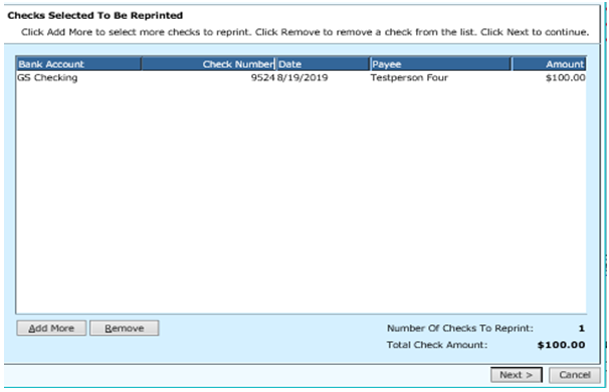
The checks for the batch will be displayed. By clicking the appropriate button, you can Add More to be printed or Remove some of the ones shown. When only the checks to be printed are shown, click the Next > button to proceed to the next step. To cancel the process and return to the main menu, click the Cancel button.
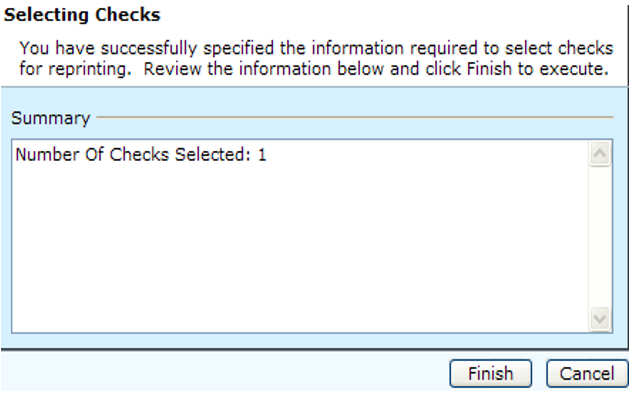
This screen summarizes the checks selected for reprinting. After viewing the information, click the Finish button to proceed to the next step. To cancel the process and return to the main menu, click the Cancel button.
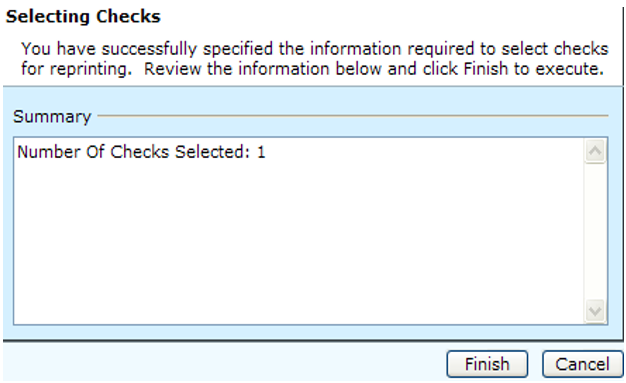
This confirms that the checks are selected for reprinting. Click the Close button to return to Step 2.
Step 4: Print Pre-Check Register
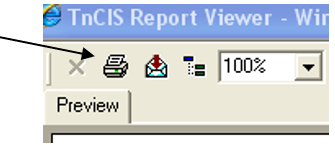
When the process is selected, the report will be displayed. To print the report, select the Print Report icon from the Crystal Report. You will then select the printer to use and click the Print button. Click the red “x” at the top of the screen to exit the report.
Step 5: Print Checks
Use the drop down menu to select the printer to be used for printing the checks.
Use the drop down menu to select the reason for the reprinting. To edit or add a reprint reason, click the Reprint Reason hyperlink.
Enter any comments/notes about the check. If comments have already been entered and you want these comments to replace the previous ones, enter check comments in the appropriate field.
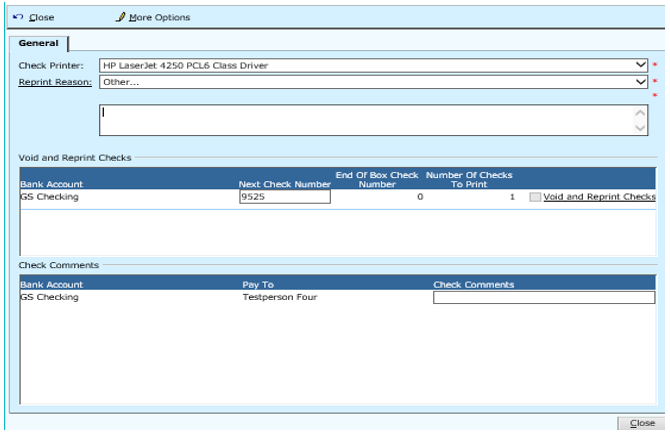
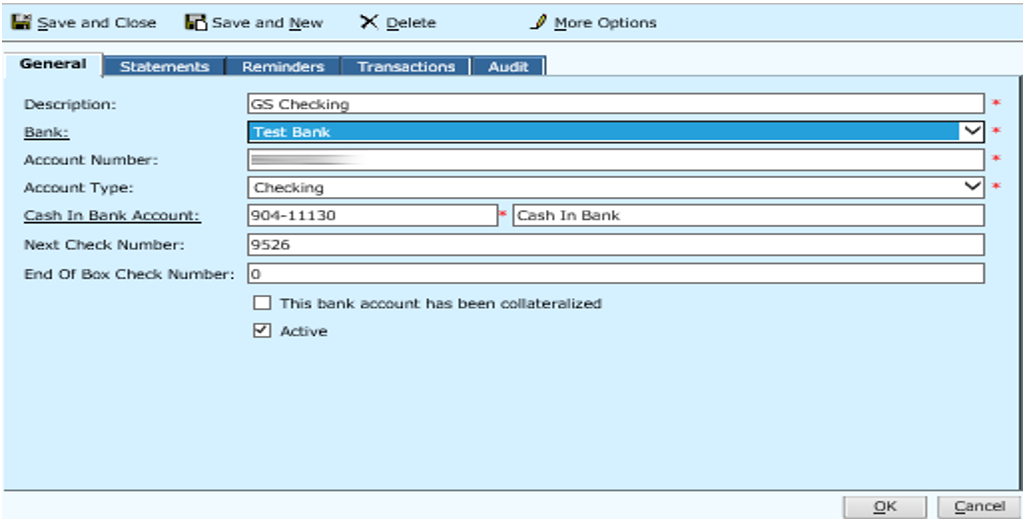
Note: If the Next Check Number is not correct, check the Bank Accounts table under administration to find the next number.
When all of the information is correct and you are ready to print the checks, click the Void and Reprint Check’s hyperlink. You will be prompted by "Are you sure you want to reprint the selected checks?" and you will click the Yes button to proceed. When the checks have been successfully printed, click the Close button.
Note: At this point, if the checks did not print correctly, you can click the Void and Reprint Checks hyperlink and begin the print process again.

Step 6: Print Check Register
When the process is selected, the report will be displayed. To print the report, select the Print Report icon from the Crystal Report. You will then select the printer to use and click the Print button.
Step 7: Close Batch
Click this option once you have finished printing checks to close the batch process.

Rev. 03/25/2021